Stan's kitchen - Home made Bagels
Stan Krawczyk • 15 May 2020
Stan's kitchen - Home made Bagels
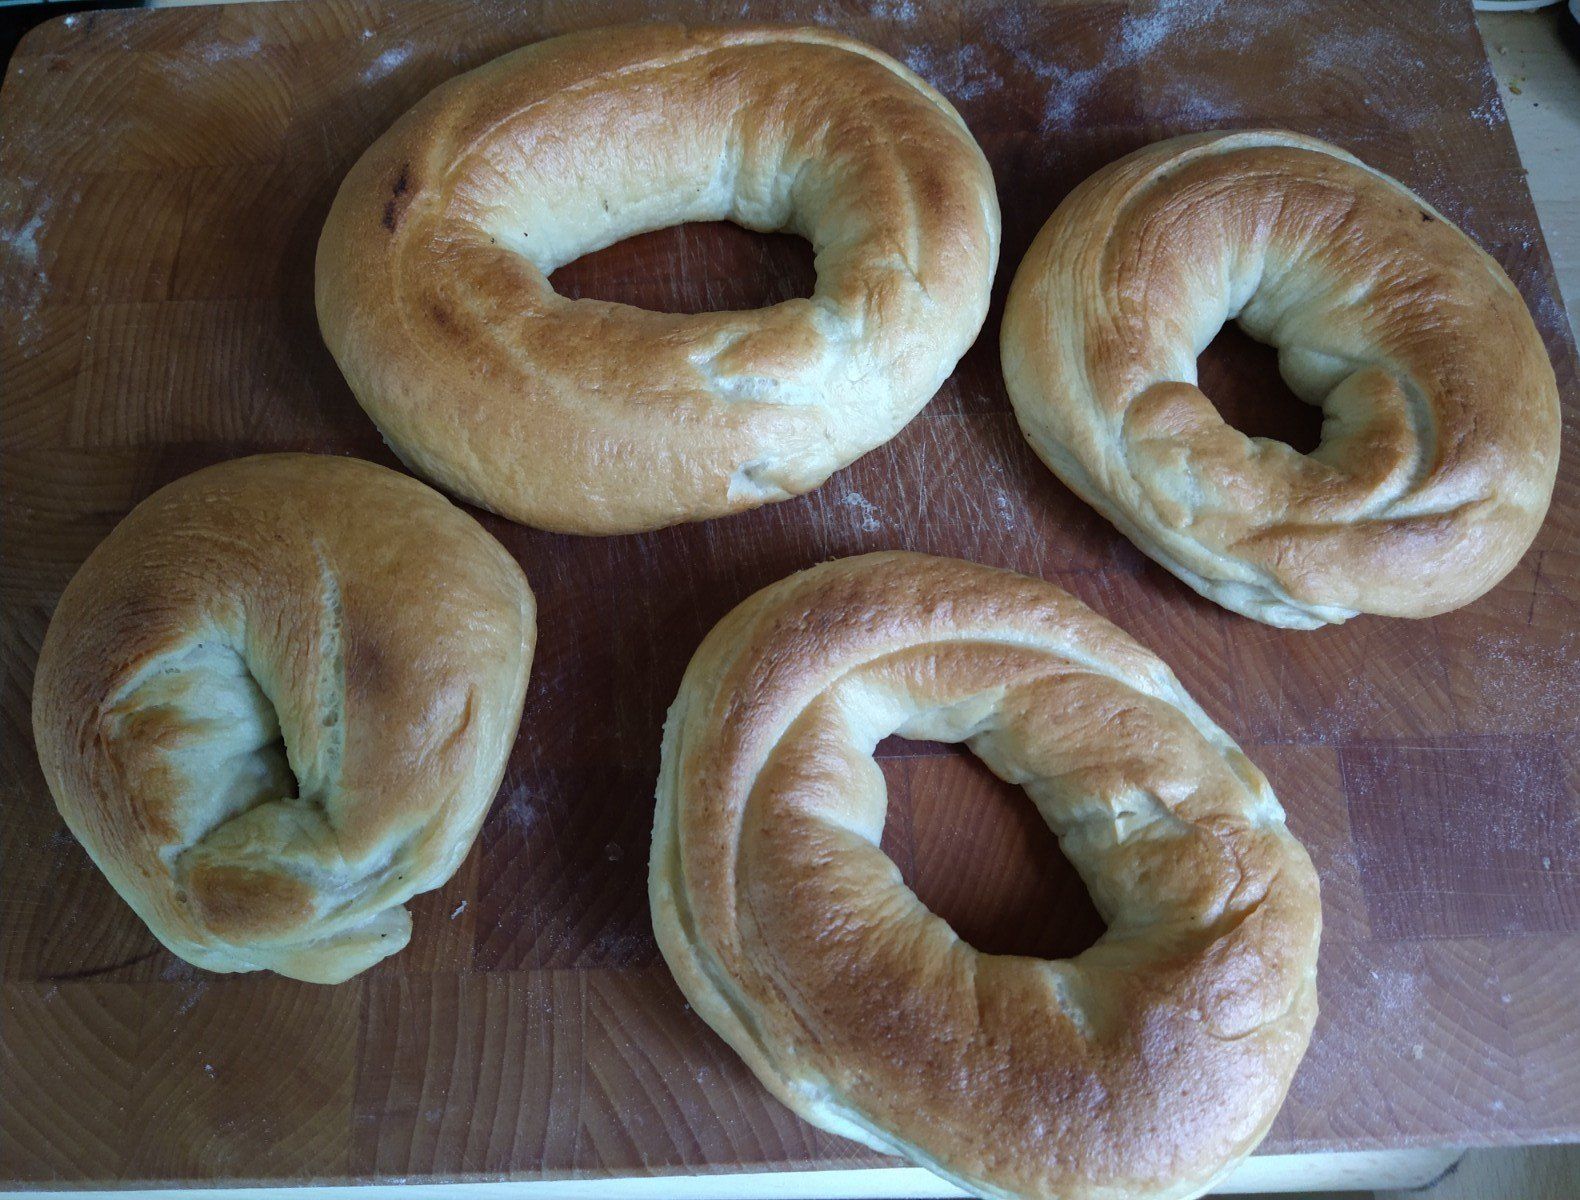
My attempt at home made Bagels and they are just like the real thing! I was more surprised than anyone.
Bagels
Because of the current lock-down situation and my 16kg strong bread flour purchase, I feel I have to bake and justify this!!
Sourdough bread has been successful and pizza too. We do like bagels in the Krawczyk house so it was the natural option.
I did try a cheat recipe that uses flour, greek yogurt and not much else. It was ok but I wouldn't do it again.
Make them properly - boiling in water edition, which I explain here.
It is from the Allrecipes site.
This is obviously an American version because they must have bagels the size of hubcaps over there? This amount will make easily 8+ large bagels, but if you reduce the cut sizes you can get at least 20 from this! I make mine roughly 3 or 4 inches in diameter, they grow bigger in the water.
I do experiment a lot, first batch I followed the instructions and they turned out perfectly (first time shock!!) but I felt they lacked a tiny bit of flavour, so for this blog I tried half rice half chips version, well ok 1 cup of Wholemeal flour to the normal 3.5 cups of strong white bread flour. It didn't look as nice as the first batch because the wholemeal flour is a bit harder to work with, more powdery and didn't knead as easily as the first batch with just Strong bread flour.
I would recommend following the recipe as is for now then play afterwards.
I didn't have any toppings so I went for the naked version.
Ingredients:
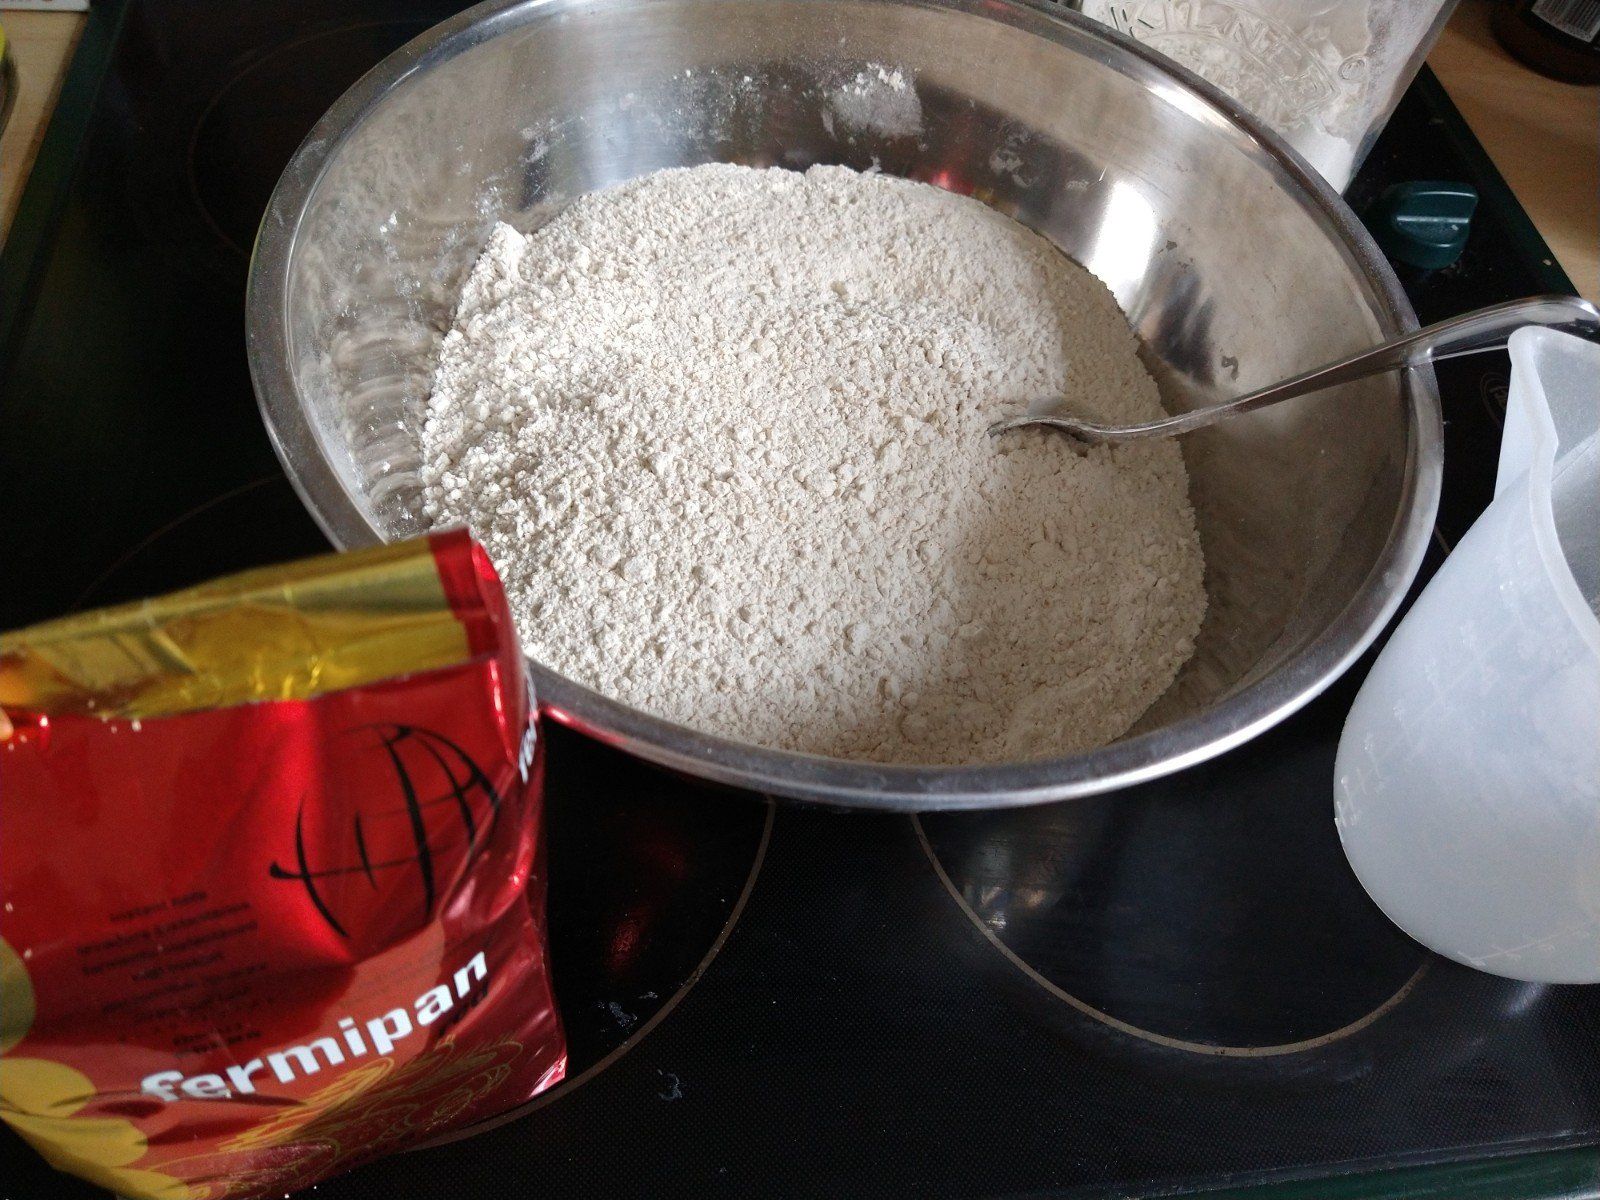
4.5 Cups Strong white flour
1.25 Cups Warm water
1 Tablespoon Instant dried yeast (I used Fermipan)
3 Tablespoons White Sugar
2 Tablespoons Oil (I used Olive Oil)
1 Teaspoon Salt
Honey
Boiling water in a pan ( 4 Quarts they say - Large pan I say)
Method:
Combine all the dry ingredients together in a large mixing bowl.
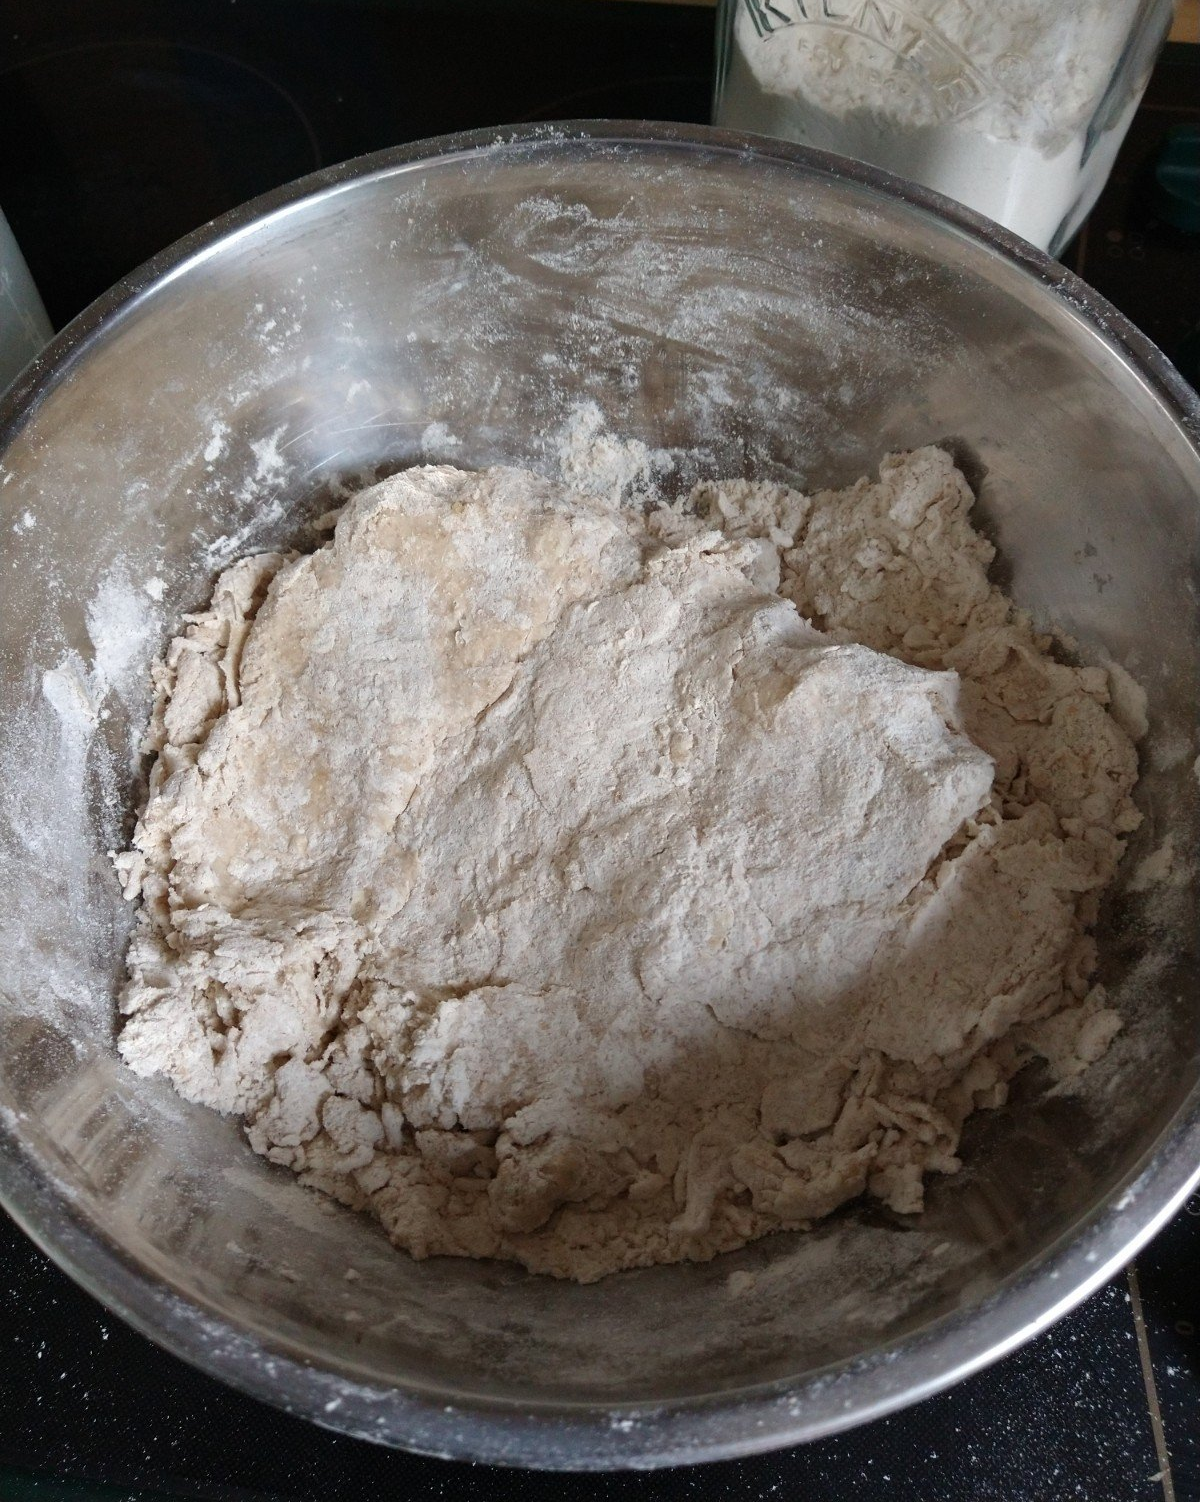
Add the oil and water slowly to it. I used a fork to bind most of it before I went in there with my hands.
It mentions using a Kitchen processor but really are you THAT lazy! It's good lock down exercise and not that hard?
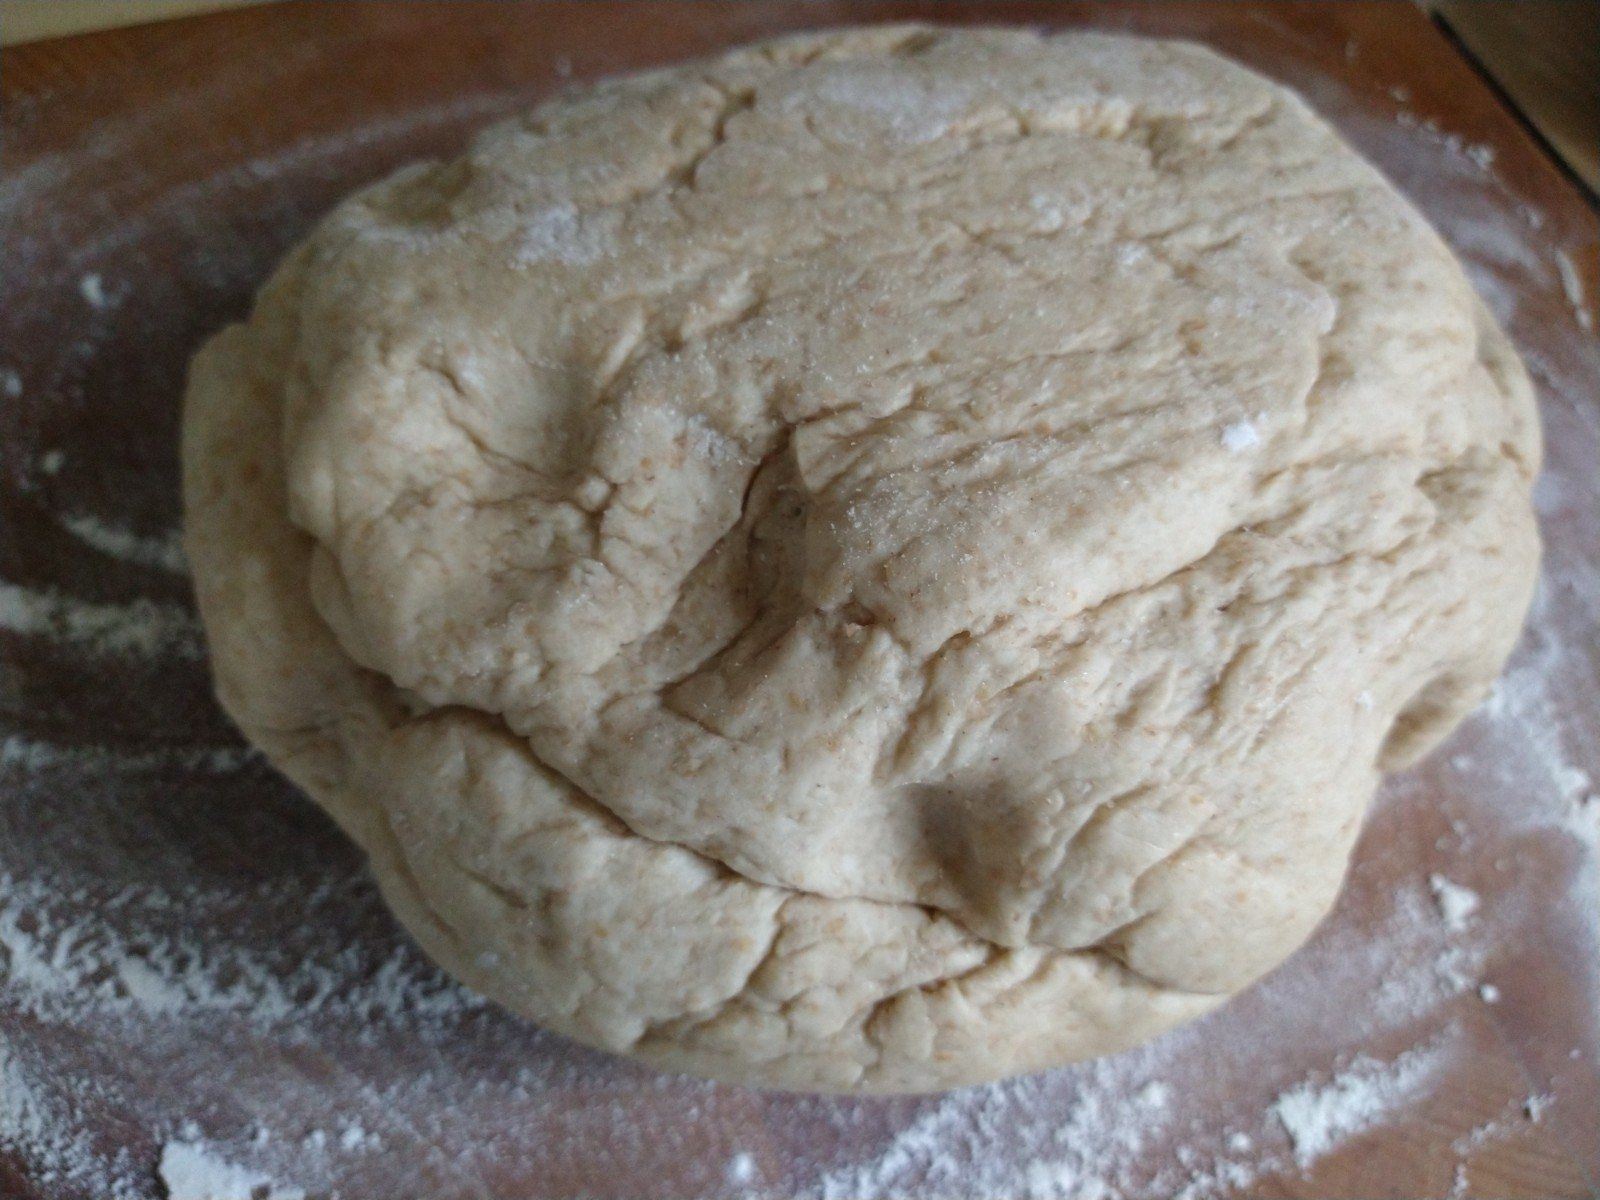
After you have mixed it well in the bowl, dust some flour onto a work surface and knead it for about 10-15 mins. You are trying to make it smoother and malleable.
Line another mixing bowl with little oil then drop the dough into it and cover with clingfilm.
Leave somewhere warm for 2 hours so it doubles in size.
Now the fun starts!
Fire up the oven and get it to temperature (it mentions 270 Gazillion degrees - really even the Devil would find that too hot!) My ageing oven will just about reach 220 degrees which is plenty for this.
Get your large pan fill it with the water bring to boil and drop in a large tablespoon of honey, this adds a nice sweetness to the outer crust.
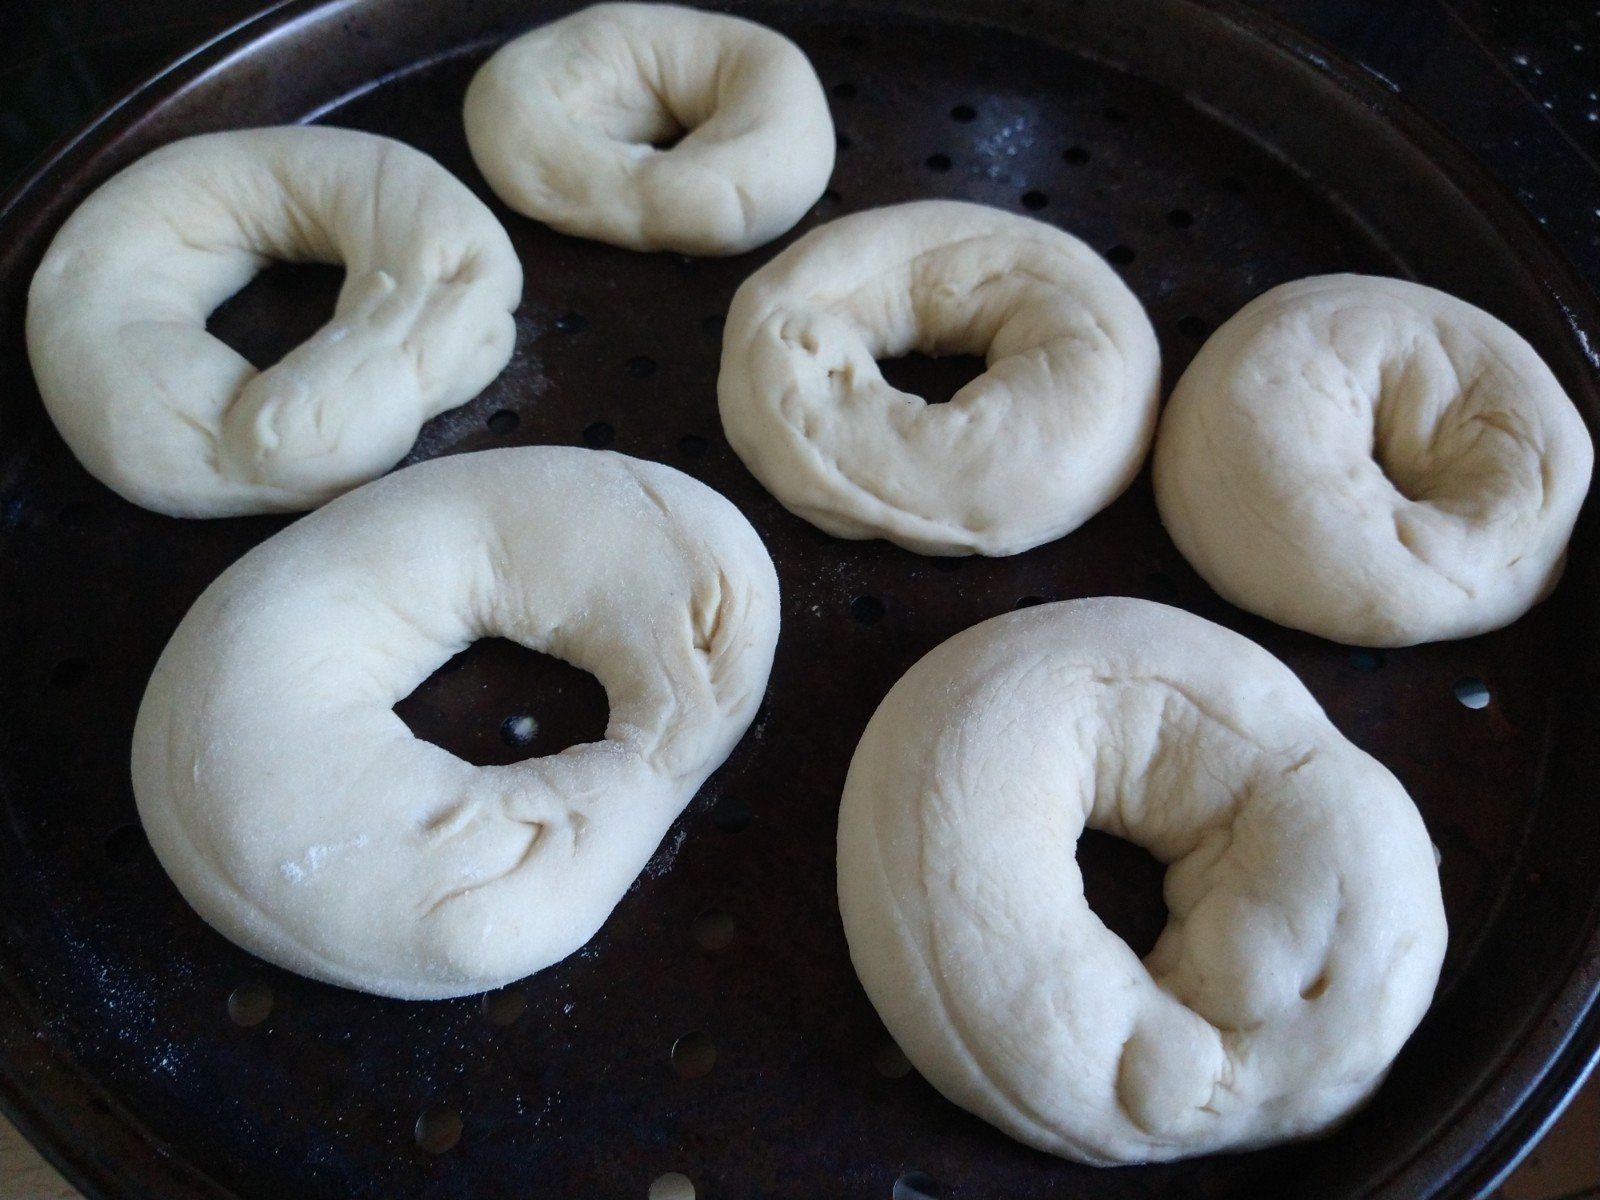
Whilst that is on the go - flour the work surface , drop the dough onto it, knocking out the air. Knead it again for about 10 mins, should be nice and soft?
You can now try 1 of 2 ways to make Bagel shapes?
Method 1 - roll the dough out to a fat sausage shape. Cut it up into 6 or 8 equal parts, then roll each one into thick sausages, which you then join together but a drop of water and pinch them together, work it a little to smooth it out so it looks pretty. You can roll it out to small more but smaller bagels its up to you. I have managed to get 12 from this amount.
Method 2 - As above but instead of rolling out the sausages and joining them, take each segment and roll into a ball. Then stick your thumb into the middle and make a hole. Its not pretty but it works.
Personally I prefer Method 1 you get a more authentic look, but try both.
Once you have crafted your naked uncooked bagels into shape, let them sit there for 15 mins to rise a little, by which time the water should be boiling and the oven ready.
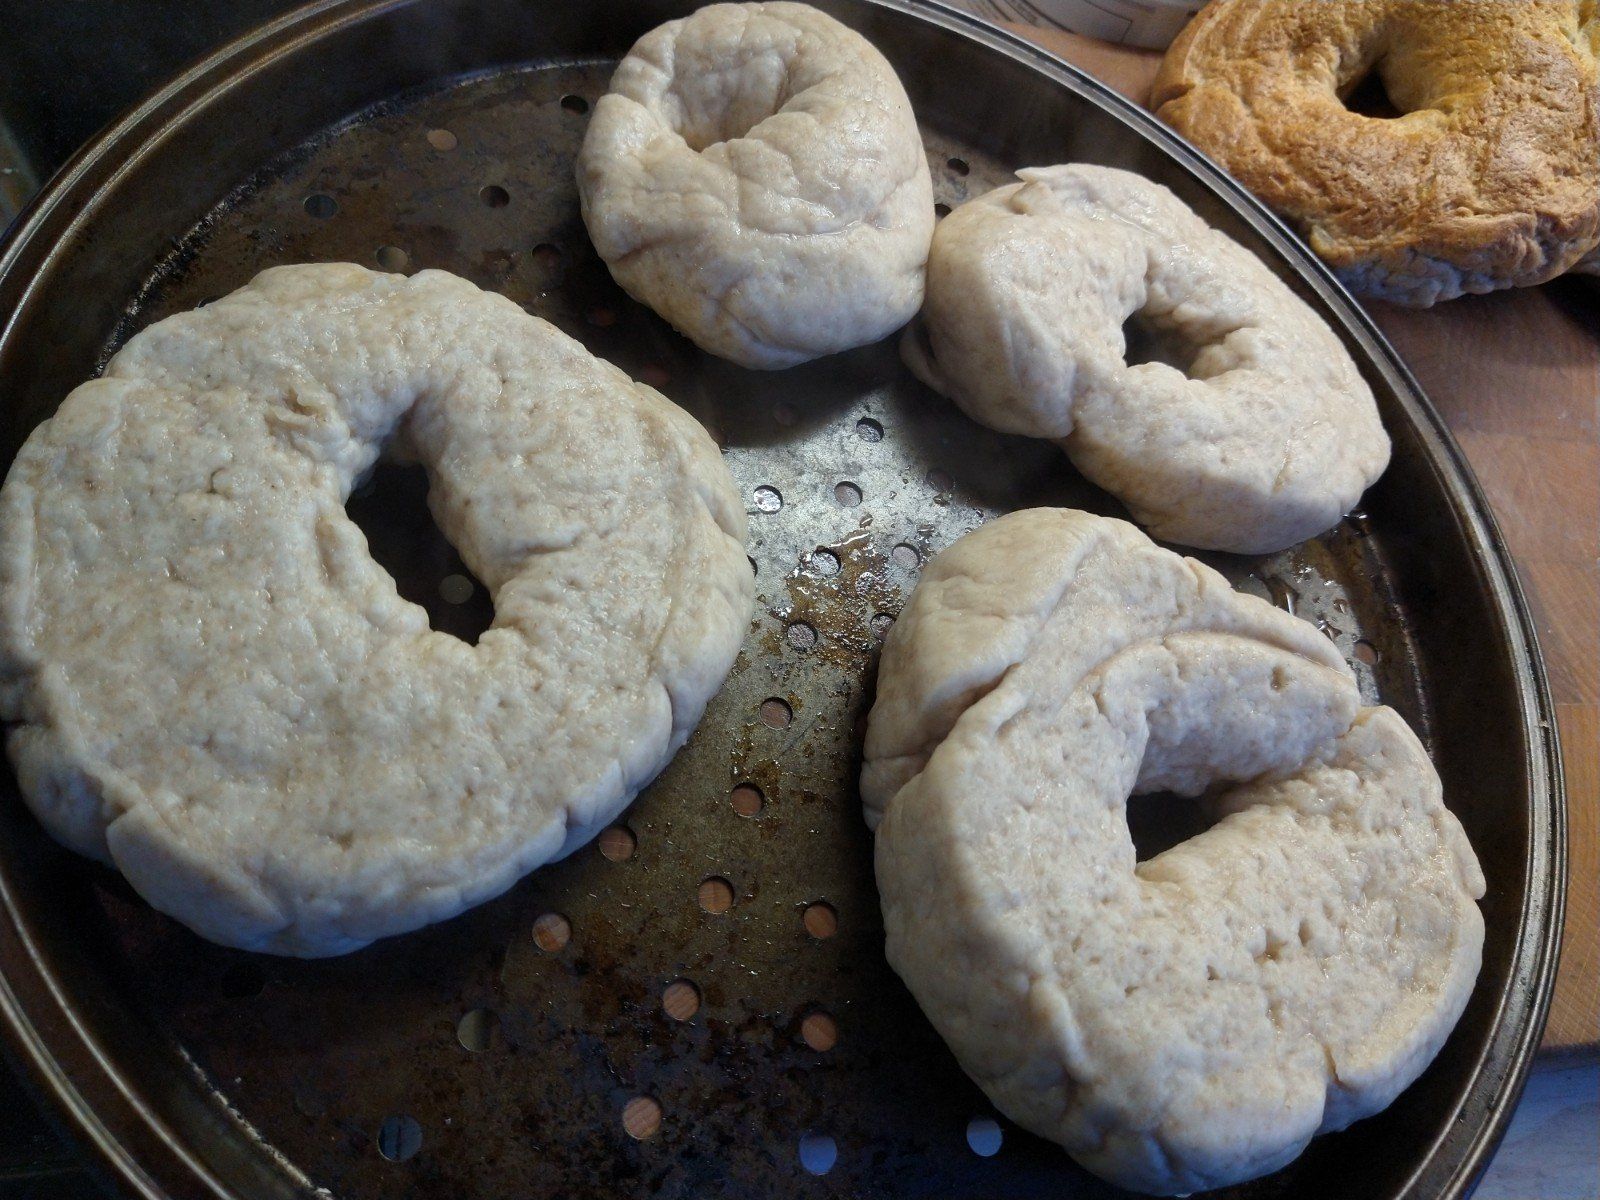
Take 3 bagels and drop them into the water, let them boil 1 minute per side.
Use a slotted spoon to take them out and place on a tray. I use a perforated pizza base try but you can waste your hard earned money on parchment paper if you want to.
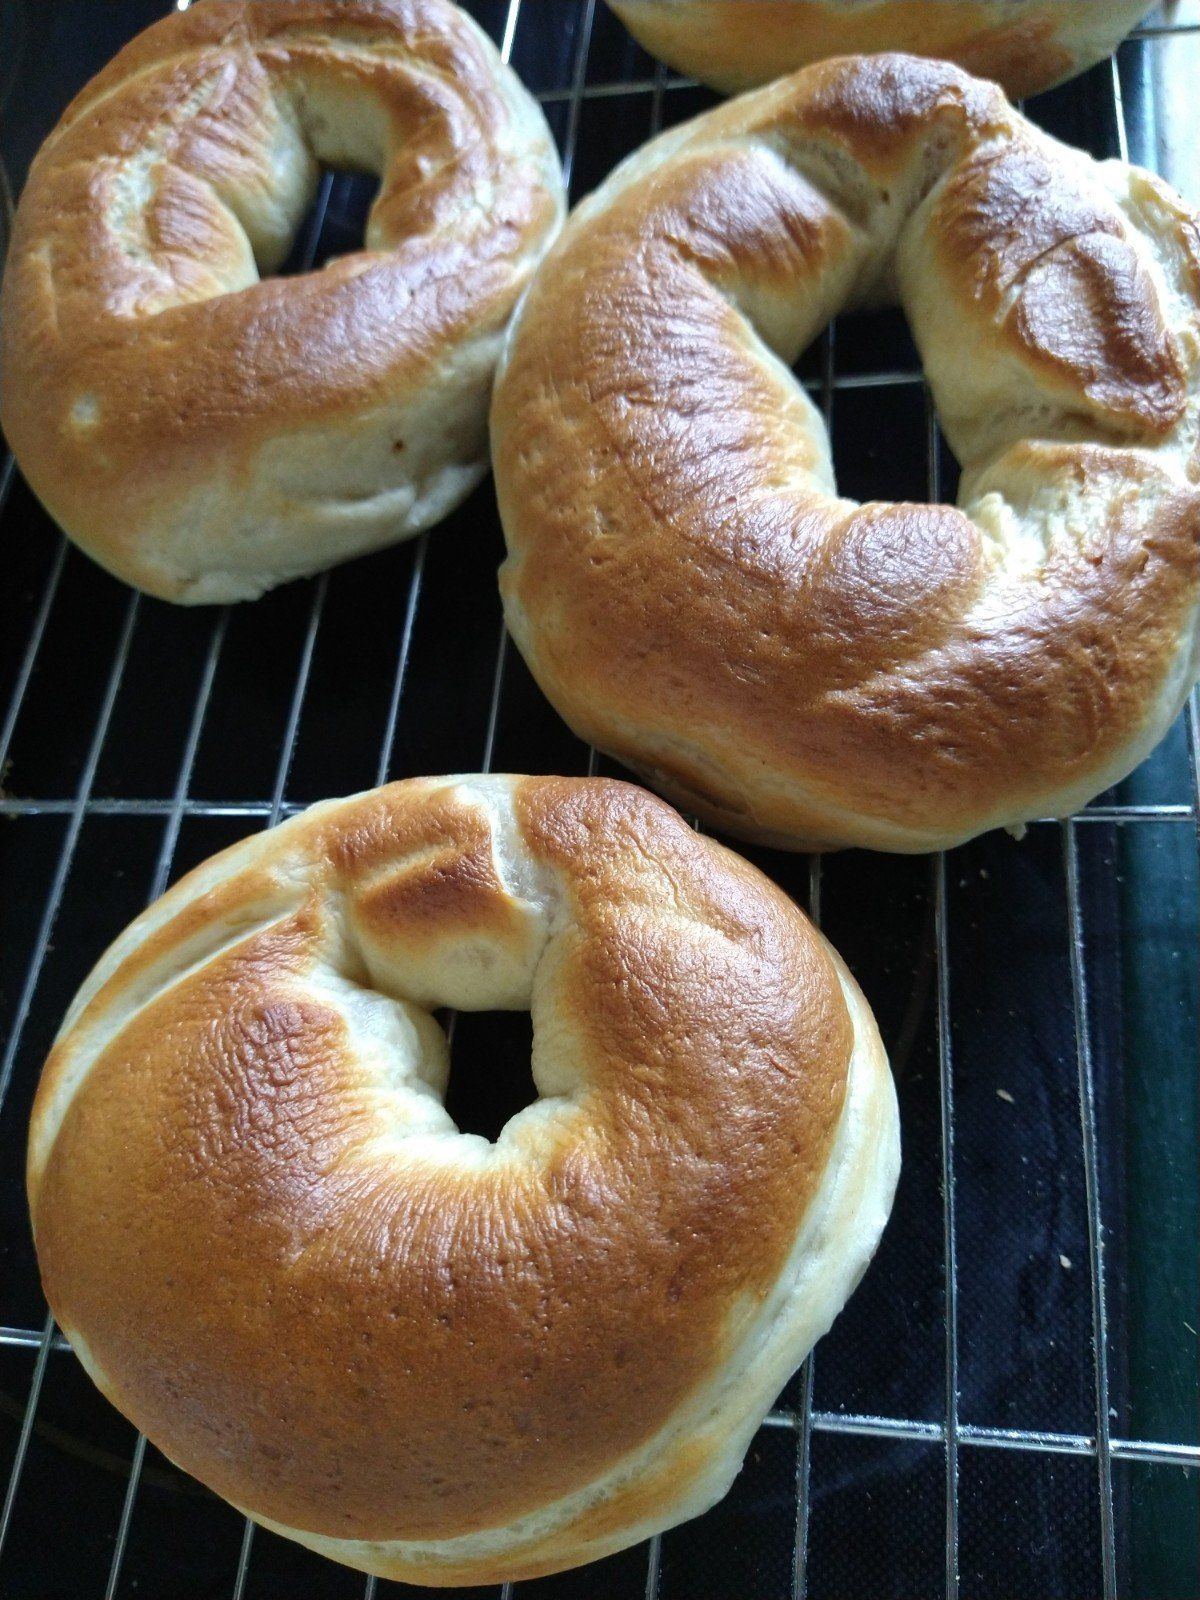
Pop the tray in the oven (middle shelf) about 10-15 mins until it goes brown. Because my oven is on its last legs I have to keep rotating the tray, but you might not have to. They should go a nice brown but don't cremate them.
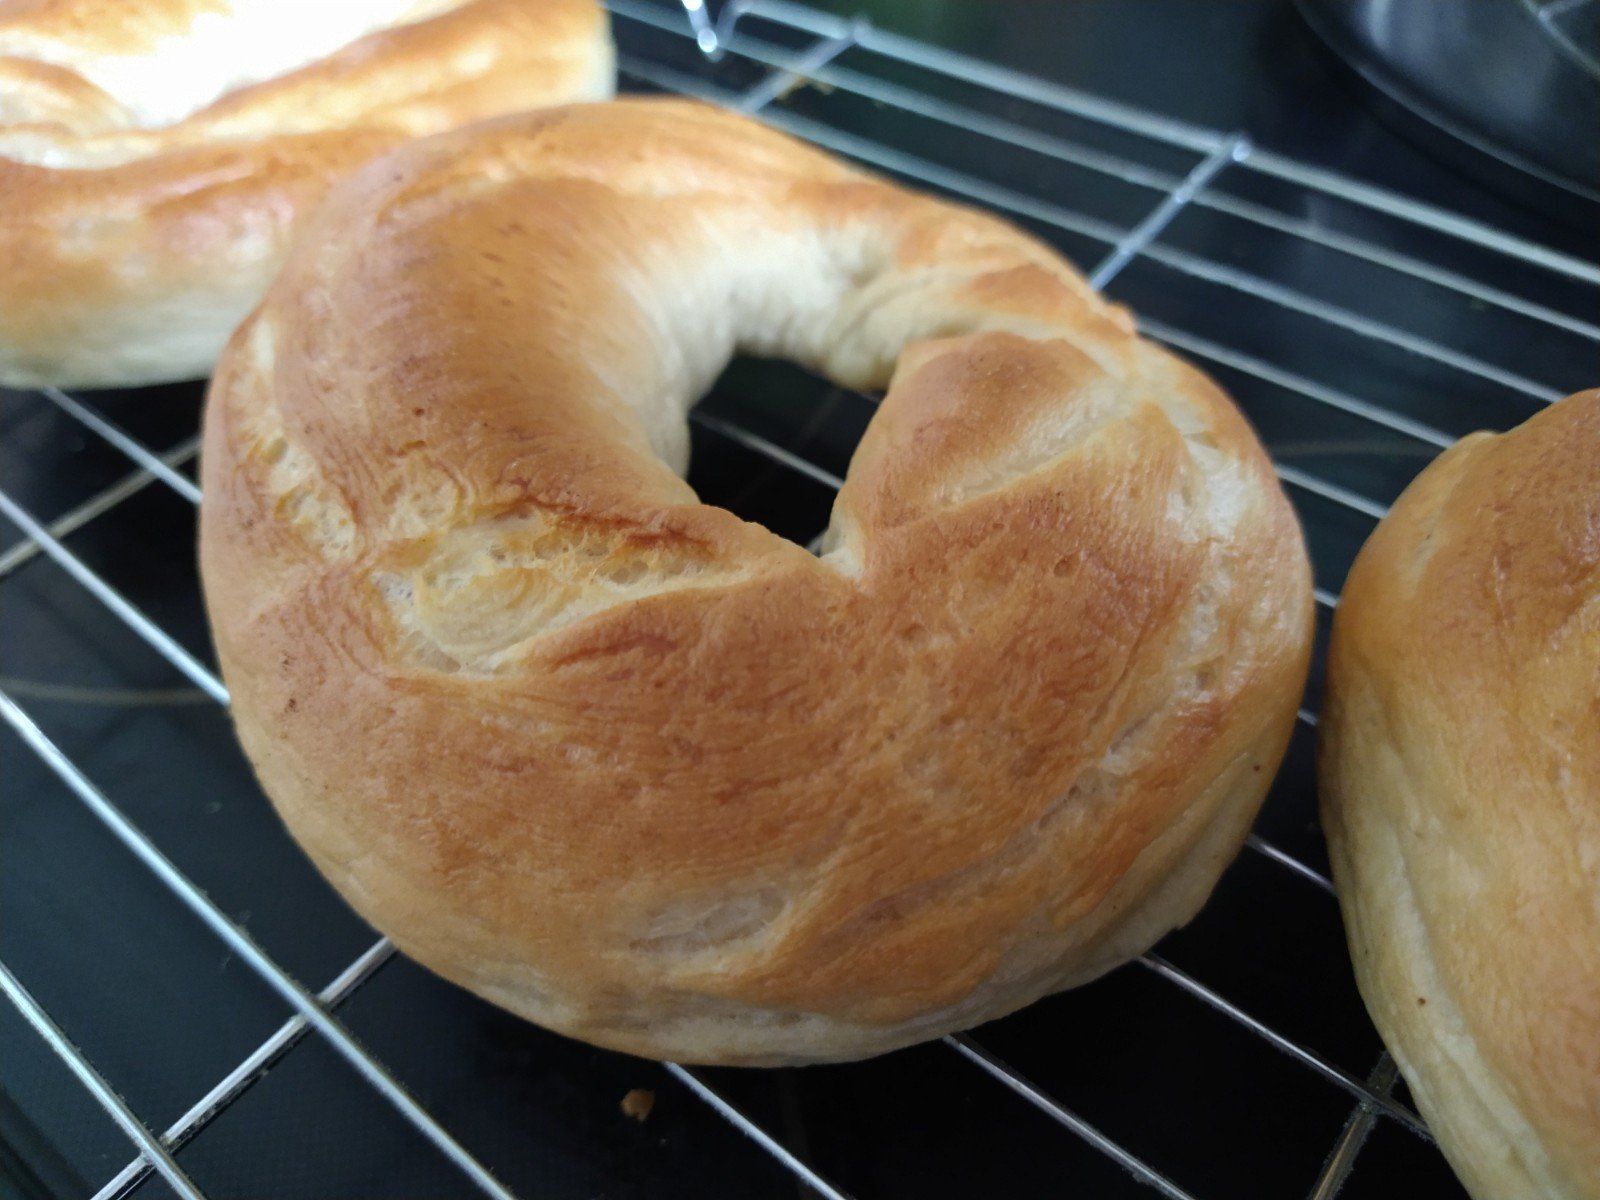
Take them out and place on wire rack to cool down.
Carry on with the next batch and there you go.
Seal in an airtight container once they are cool.
Place them in the freezer if you have made a lot, they stay fresh, let them defrost when you need them.
Amazingly they are very tasty and easy to make. They toast very well.
Try and get your kids involved its fun. Sadly mine isn't interested but there you go!
That's it enjoy!
Update
Following some experimentation a couple of slight improvements.
2 large tablespoons of Sourdough starter (see my other blog) just gives it a little more flavour .
Really knead the dough well both times, it makes all the difference, they spring up like inflatable paddling pools!
I switched to extra strong Canadian flour (Costco) although harder to work actually has a superior taste.
Make a dough a little wetter especially with strong flour it's easier to work with.
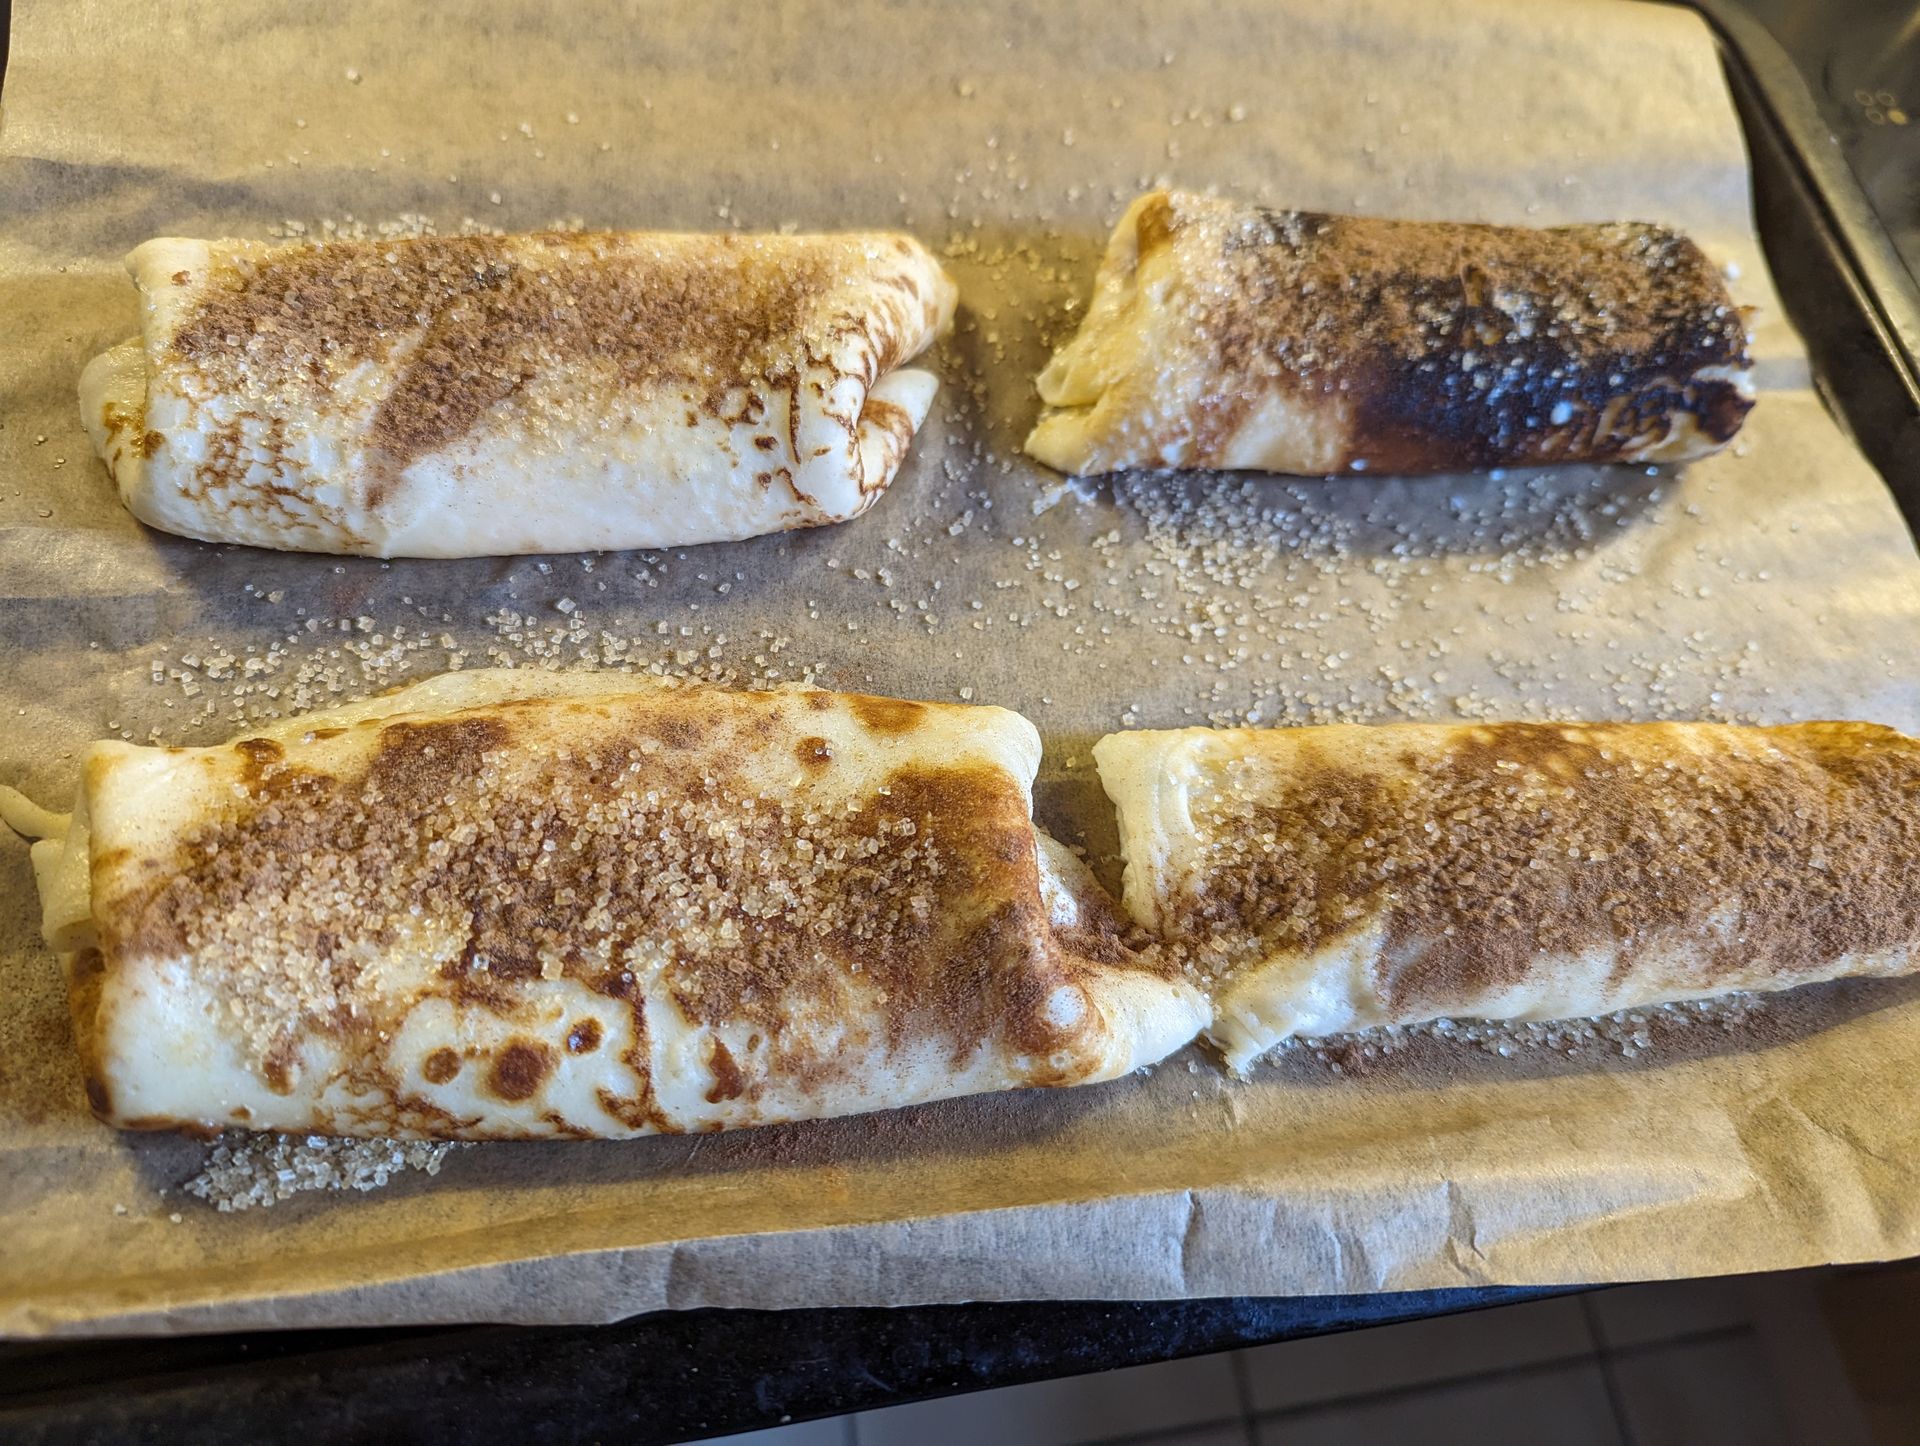
Cinnamon and Raisin Bagels
As above but in the mixing stage add, 3/4 cup of raisins and 2 Tablespoons of Cinnamon powder.
Everything else remains the same.
They are nice but don't go mad with the raisins too many will spoil it.
The dough might be a little wetter than before so you may have to add some more flower as you knead it.
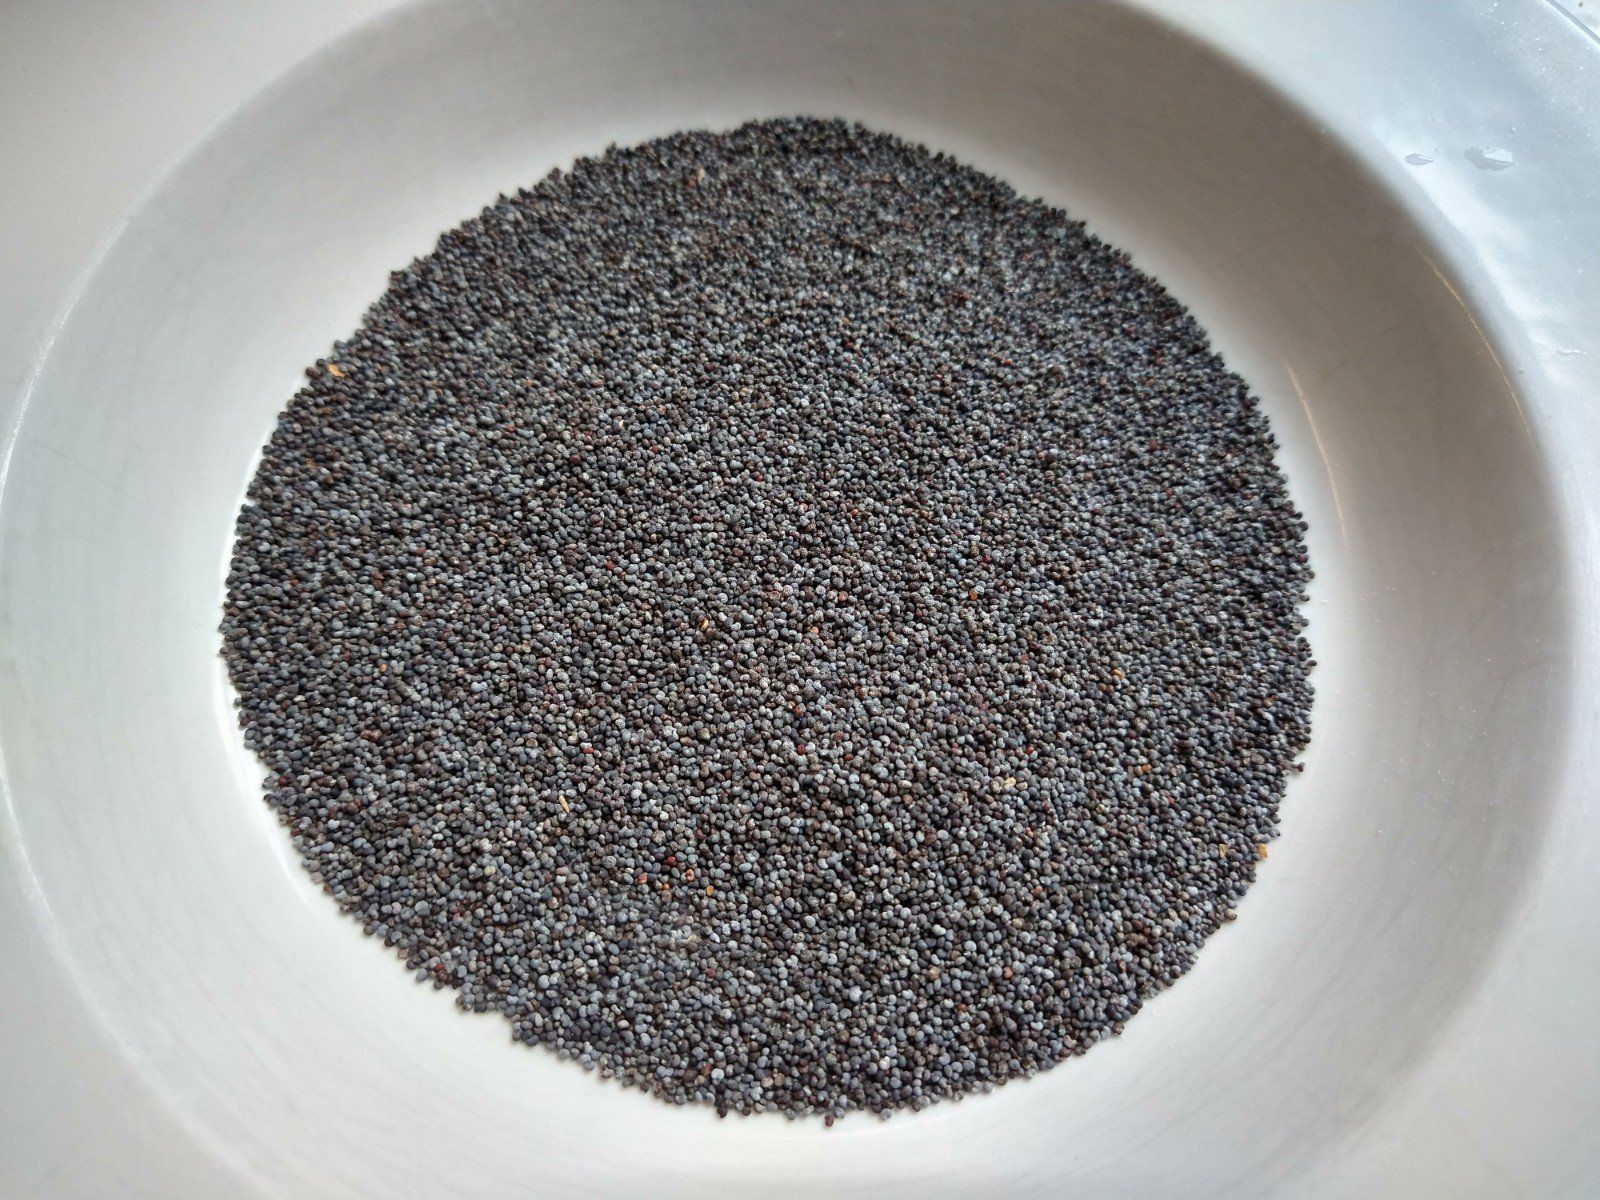
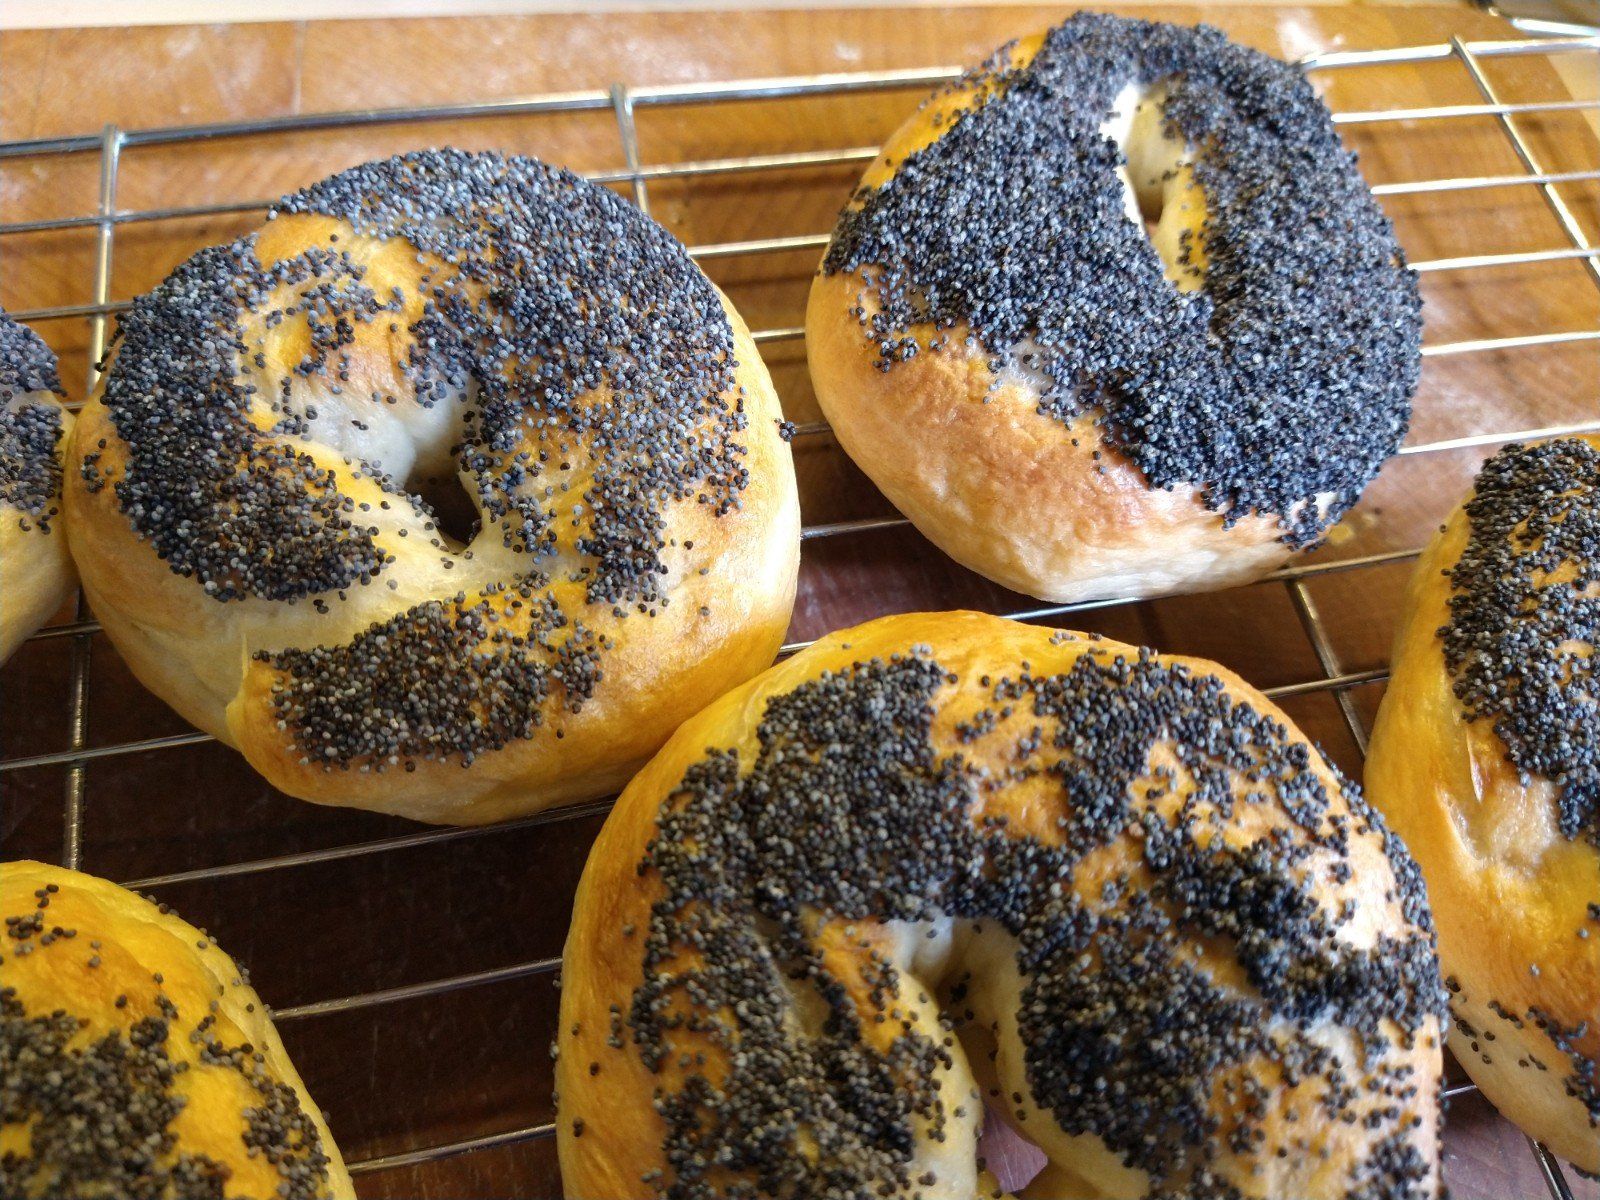
Poppy Seed Bagles
Follow the plain recipe but after you remove from the hot water drop them into a wide plate of poppy seeds.
Lift them out carefully turning poppy seed side up onto tray and into the oven.
I have to admit I wasn't too keen on that method so in the end decided to place them on the tray from the water and just dropped some seeds onto the tops with my fingers, nicer result less waste and no burnt fingers.
Add about 1 or 2 minutes more cooking time also.

With poppy seeds.
Christmas Eve home food disasters 2025

Cornish Christmas Eve get away 2024

The Last Krawczyk - 200 years in the making.

Penhros Polish Village - end of an era
Mum's Polish Kitchen - Krawczyk stuffed pancakes - nadziewane naleśniki.

Keeping the website going...

Christmas eve 2023 in Cornwall
Christmas eve 2021

Popcorn the kitten, Ania's new friend

5 Years today since mum passed away.